
1. Setting
In the workspace interface, tap the setting  button to enter the setting page. Users could manage personal information, reset passwords, reset App language, check the privacy policy and clear the cache etc.
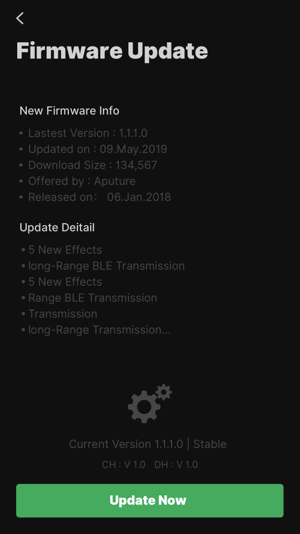 Figure 1 Setting button in the workspace
1.1 Profile Editing
Enter the "Edit profile" section to edit personal information, click the "Confirm" button to save the change.
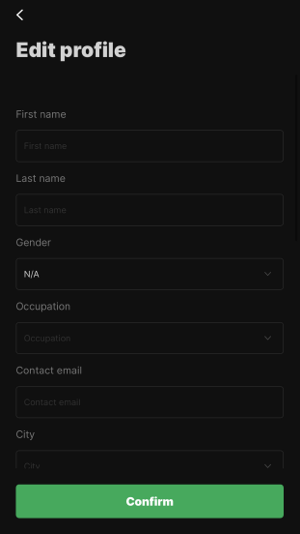
Figure 1.1 Edit profile
1.2 Account and Security
Enter the "Account and security" section to modify passwords. Tap the "Get verification code" button to receive the verification code. Then users could tap the next step to modify passwords.
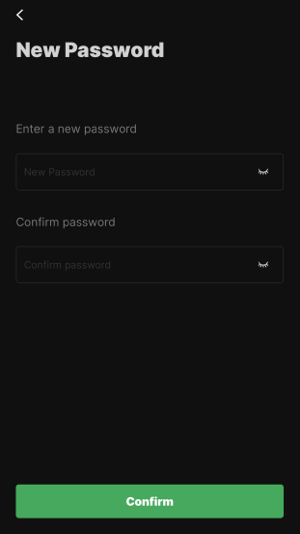
Figure 1.2 Change Password
1.3 Language Setting
Sidus Link® App supports multiple languages, users could switch the App language among English, Chinese(Simplified), Chinese(Traditional), Japanese, Portugues, Vietnamese, French, Russian, German.
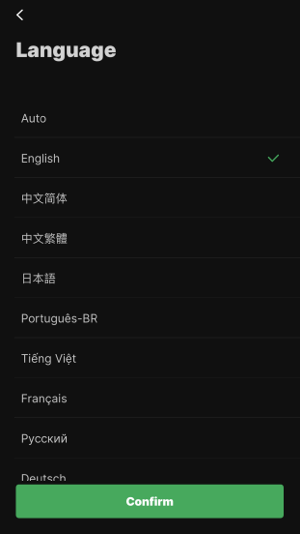
Figure 1.3 Language
The default App language follows the default language setting on the smart device.
1.4 Privacy Policy
Enter the "Privacy policy" section to check the Privacy policy on the Sidus Link® official website.
1.5 Privacy Setting
Enter the "Privacy setting" section to join or quit the "User Experience Optimization Plan".
1.6 Clear Cache
Tap the "Clear cache" to clear the cache generated while using the App.
1.7 About
Tap the "About" to check the App information of the current version.
1.8 Sign Out
Tap the "Sign out" to sign out from the current account. Users will lose the App service after signing out.
2. Personal Center
In the workspace interface, tap the personal center  button to enter the setting page. Users could manage the profile picture, Sidus Link® Cloud service and "My device" information.
2.1 Modify profile picture
Tap the profile picture to modify it.
2.2 Cloud Service Management
Enter the "Cloud" section to check and manage the cloud sync status.
2.3 Customer Service for Partner Brand
Sidus Link® deeply collaborate with Aputure®, Aputure® users could submit the after-sales application via Sidus Link® App.
Register Aputure® fixtures in Sidus Link® App to get extra 6 months of warranty.
Register fixtures:
In the workspace interface, enter the personal center, tap to enter "My devices" then select the fixture icon to register. Enter the SN number of the current fixture. The CS system will check the SN and fixture warranty status automatically.
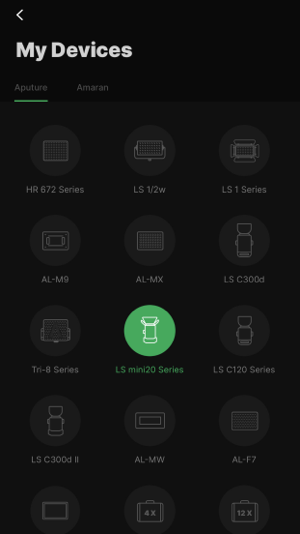 Figure 2.3-1 My Devices
Use the extended warranty:
After successfully registered Aputure® fixtures in Sidus Link® App, users could get extra 6 months of warranty. To use the extended warranty, users must submit the after-sales application via the Sidus Link® App and attach the purchase proofs.
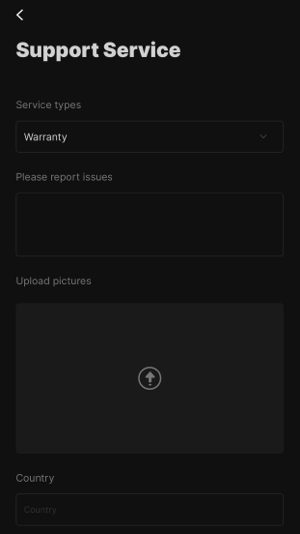 Figure 2.3-2 Submit the after-sales application via Sidus Link® App
3. Subscription Management
The Sidus Link® for iPad Pro Plan entrance is located on the workspace page.
-
Tap the subscription card to enter the subscription management page;
.png?width=688&height=583&name=iPad_subscription_manage%20(1).png)
Figure 2.2.1-1 Subscription management page
- Tap different plans to check the details;
.png?width=688&height=516&name=iPad_subscription_plans%20(1).png)
-
Tap the payment button and follow the App store payment workflow to purchase Sidus Link® Pro plans;
-
iPad Pro plans: check 2. Introduction of the Sidus Link® Pro Plans for more details.