In order to update your light firmware with Sidus Link Pro, your light must be connected via Sidus BT and you must be connected to the Internet to download the update.
Preparing Your Fixture
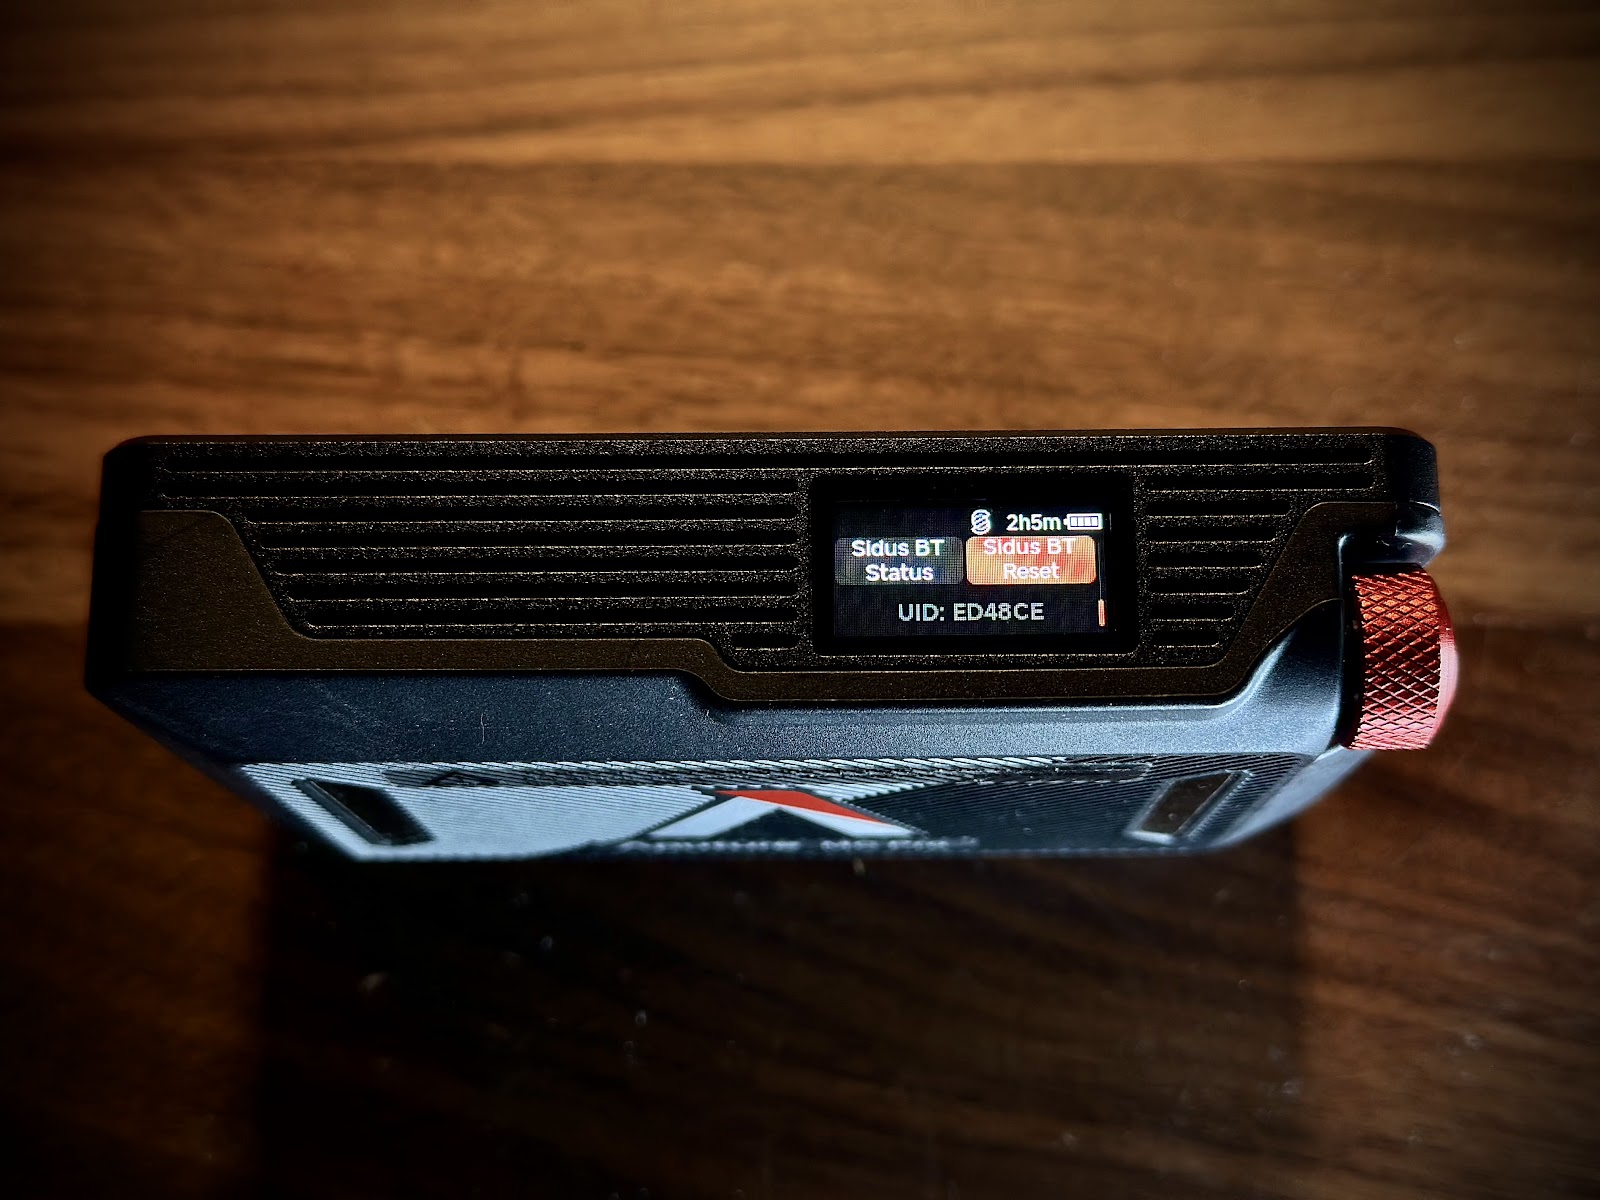
- On the light, Reset Sidus BT or Reset Bluetooth, depending on the model. Go to BT Menu - Reset BT - yes.

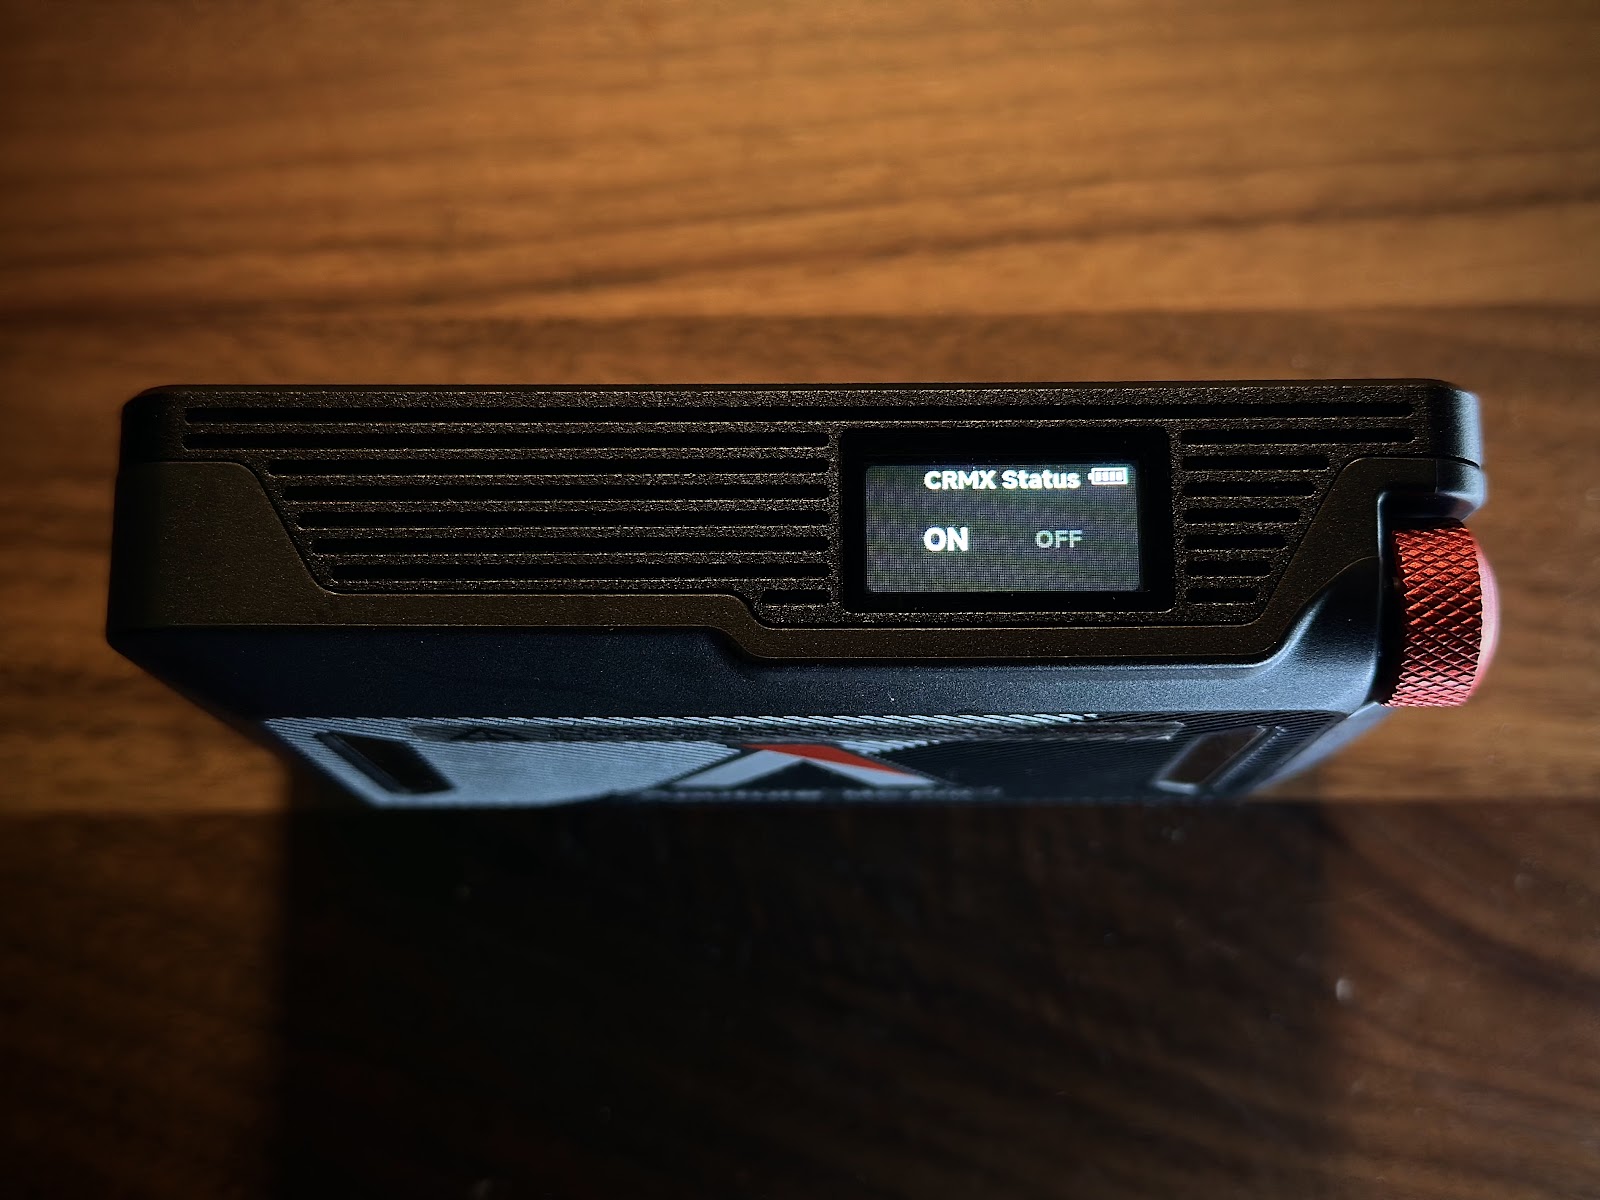
If you are connected over CRMX, you will need to re-enable CRMX once the light is updated.
If you are connected to a Sidus One or Sidus Four, you must connect to an active Internet connection.
Sidus Link Pro
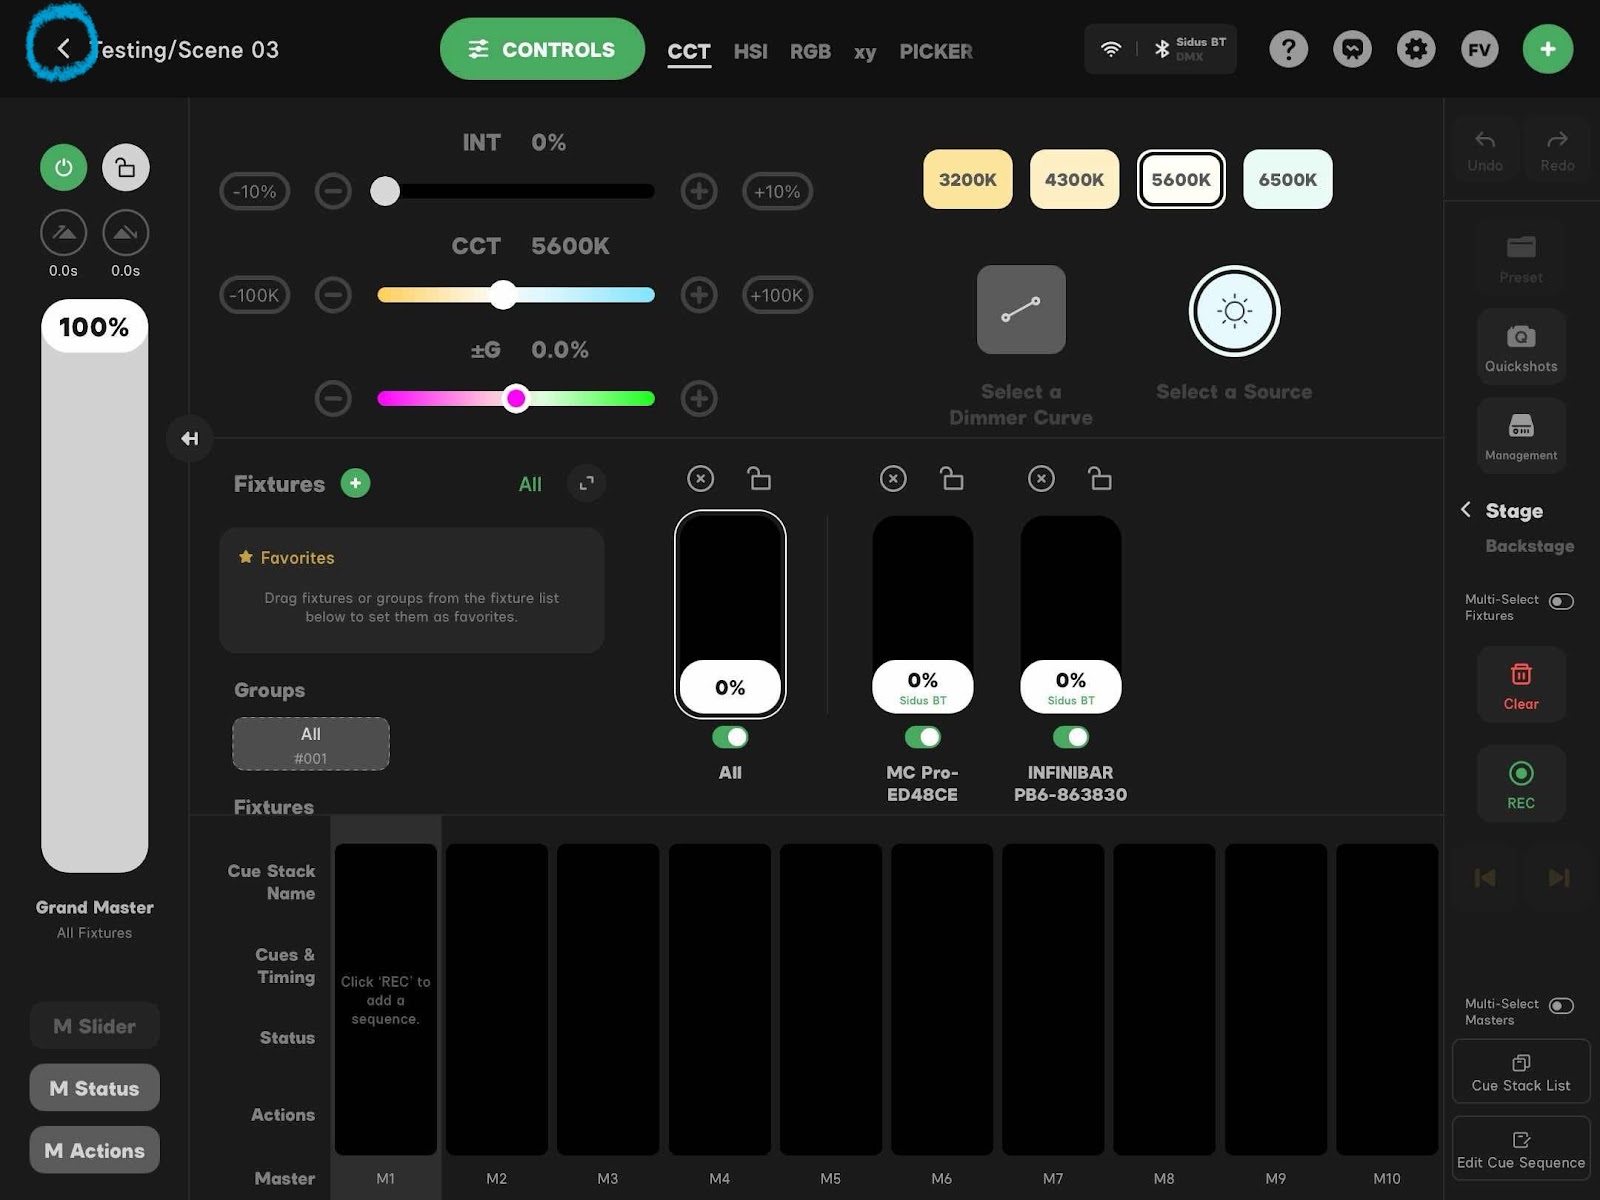
- In Sidus Link Pro, exit the project by pressing the arrow in the top left corner.
- Click the back button again.
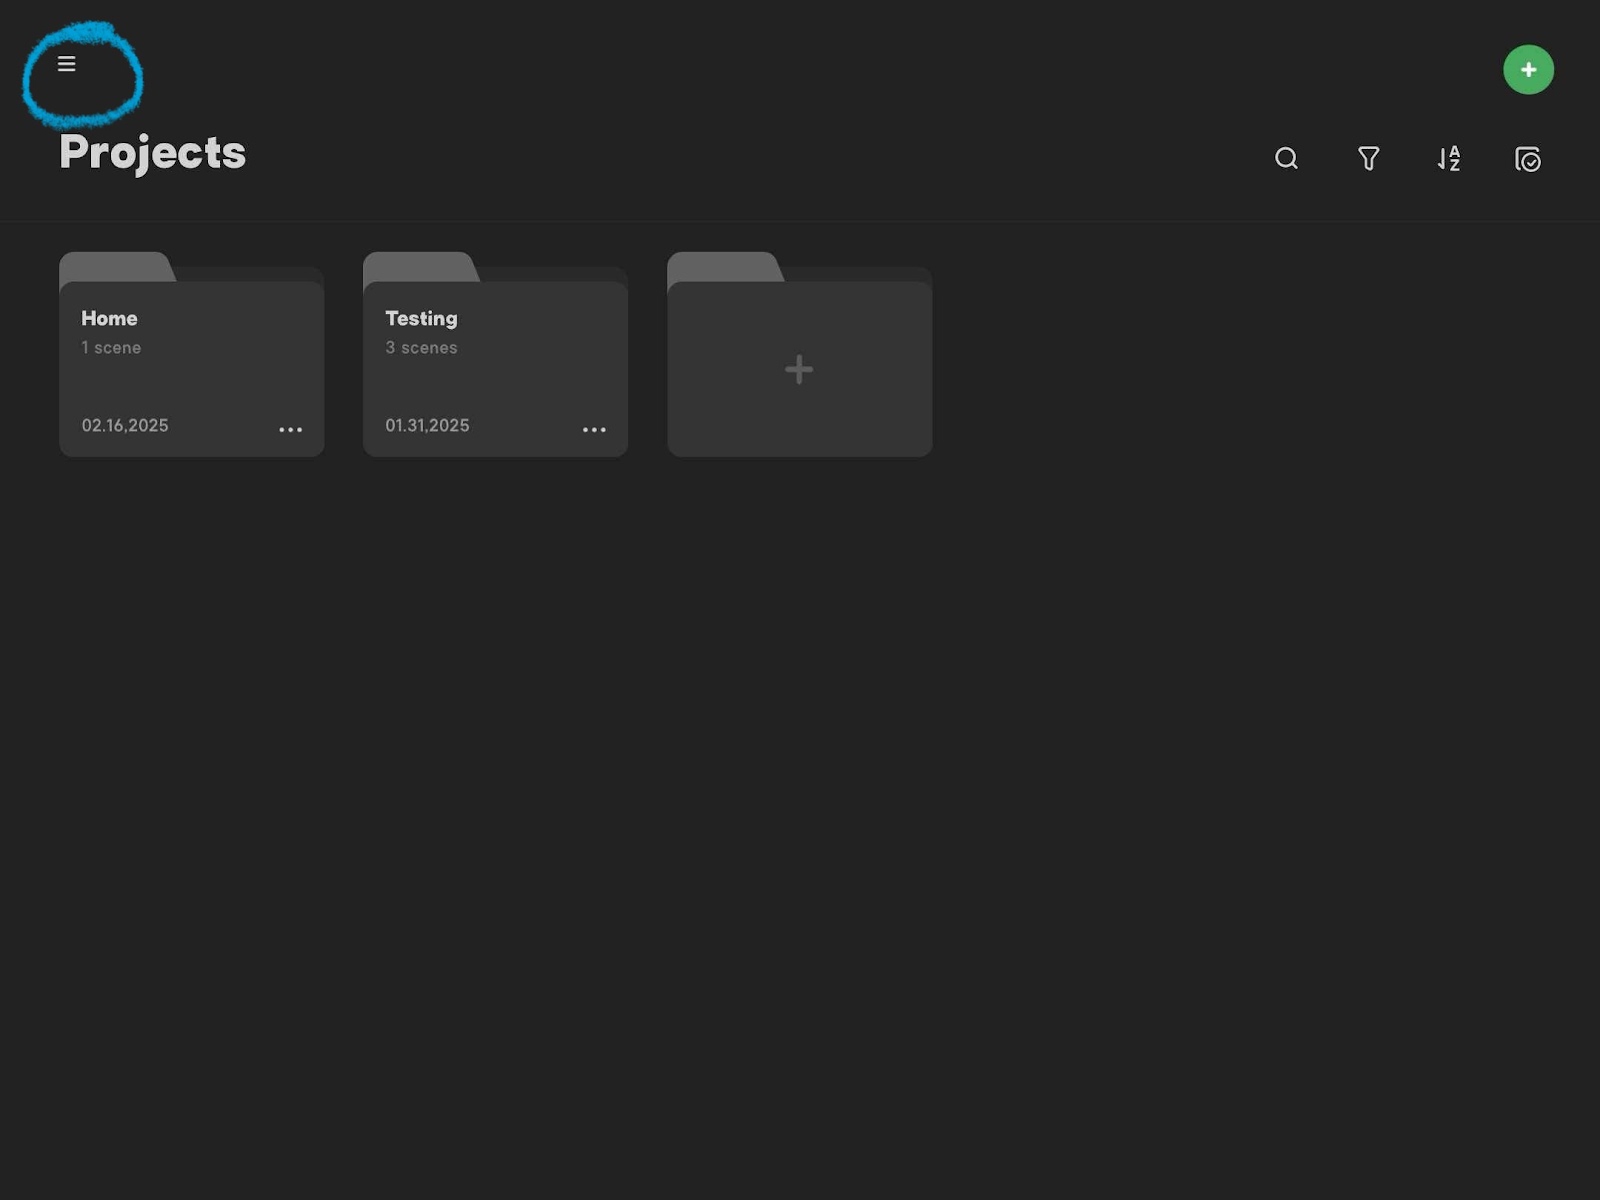
- Click the hamburger icon in the top left corner.
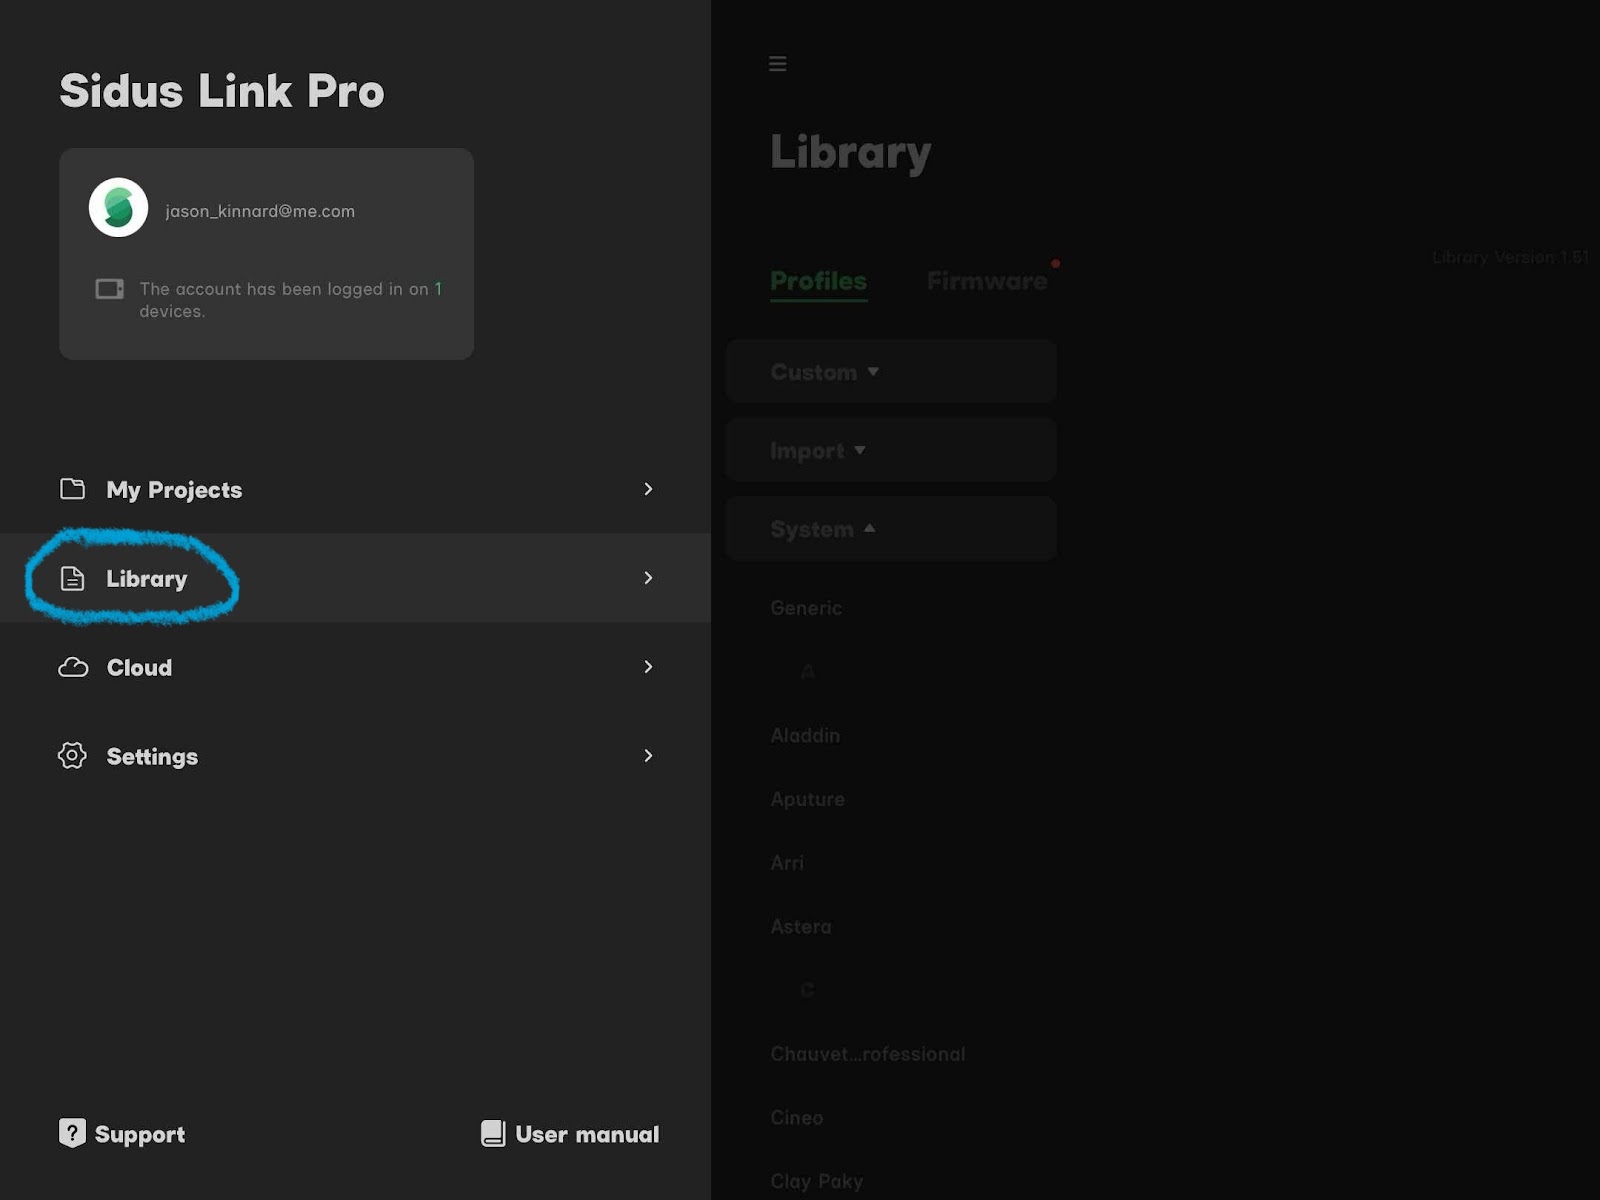
- Select Library.
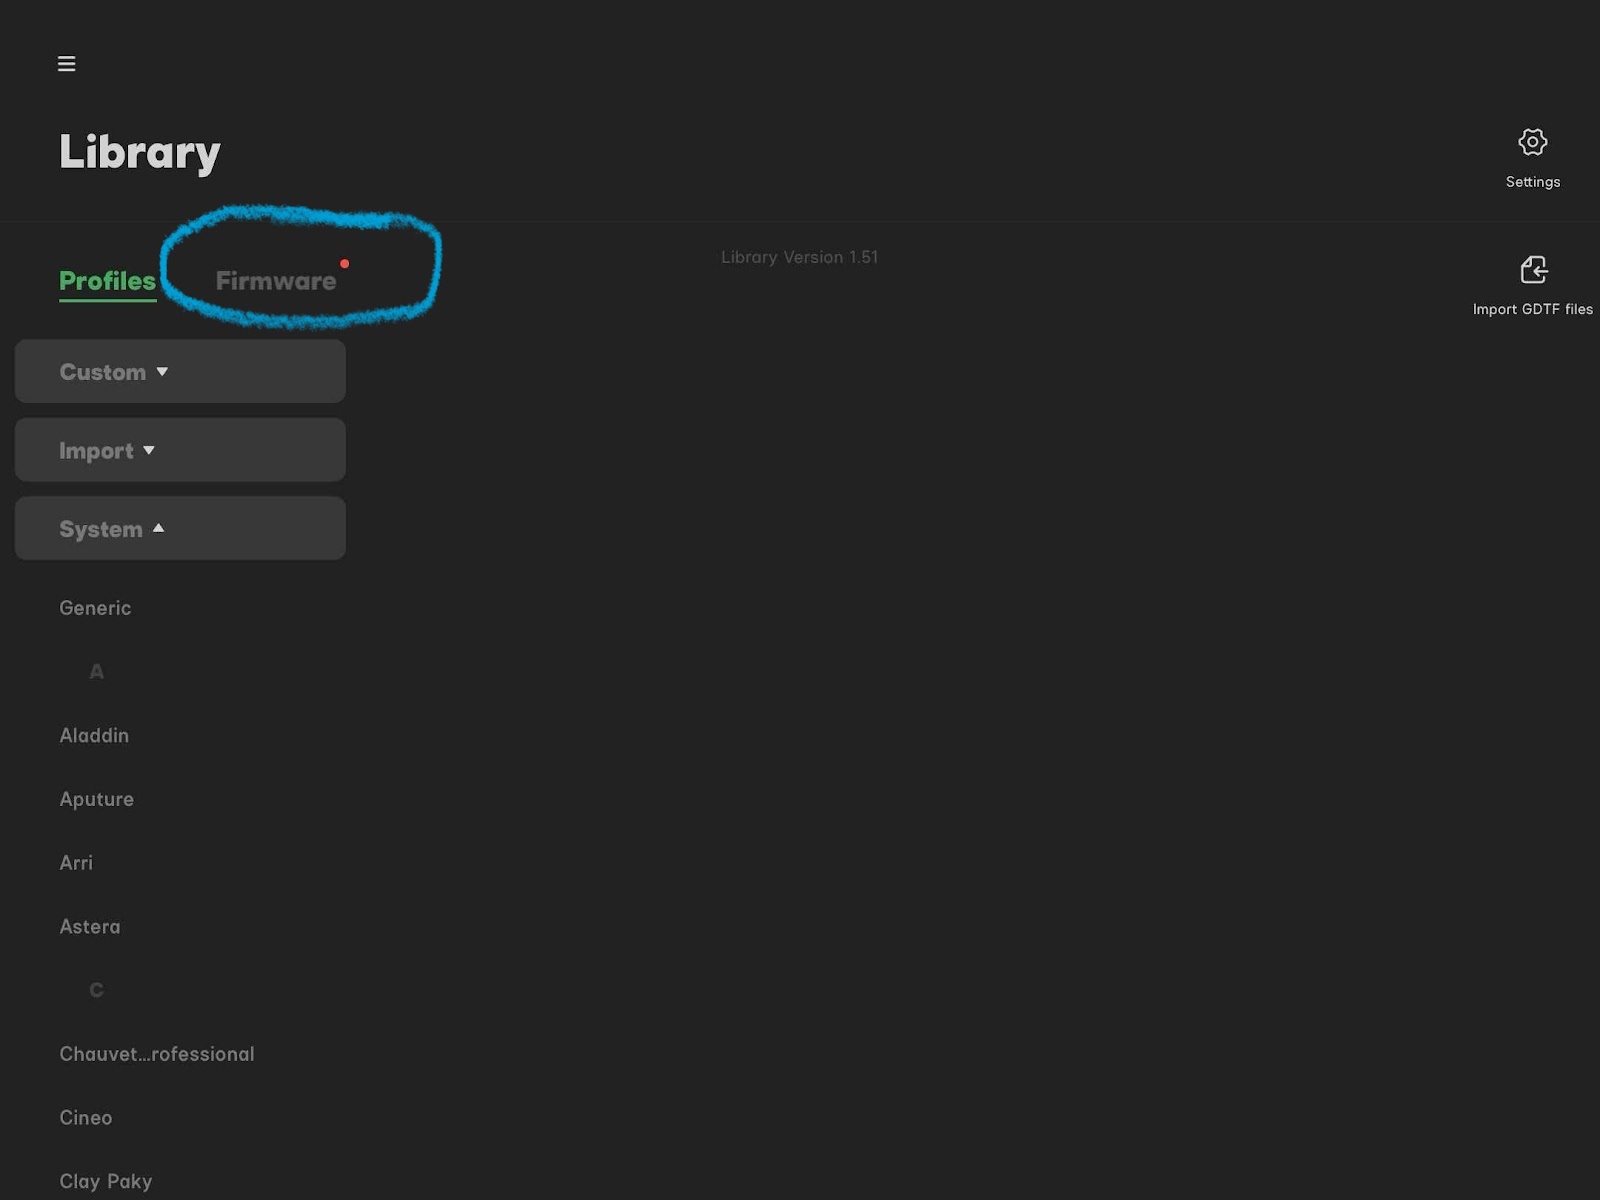
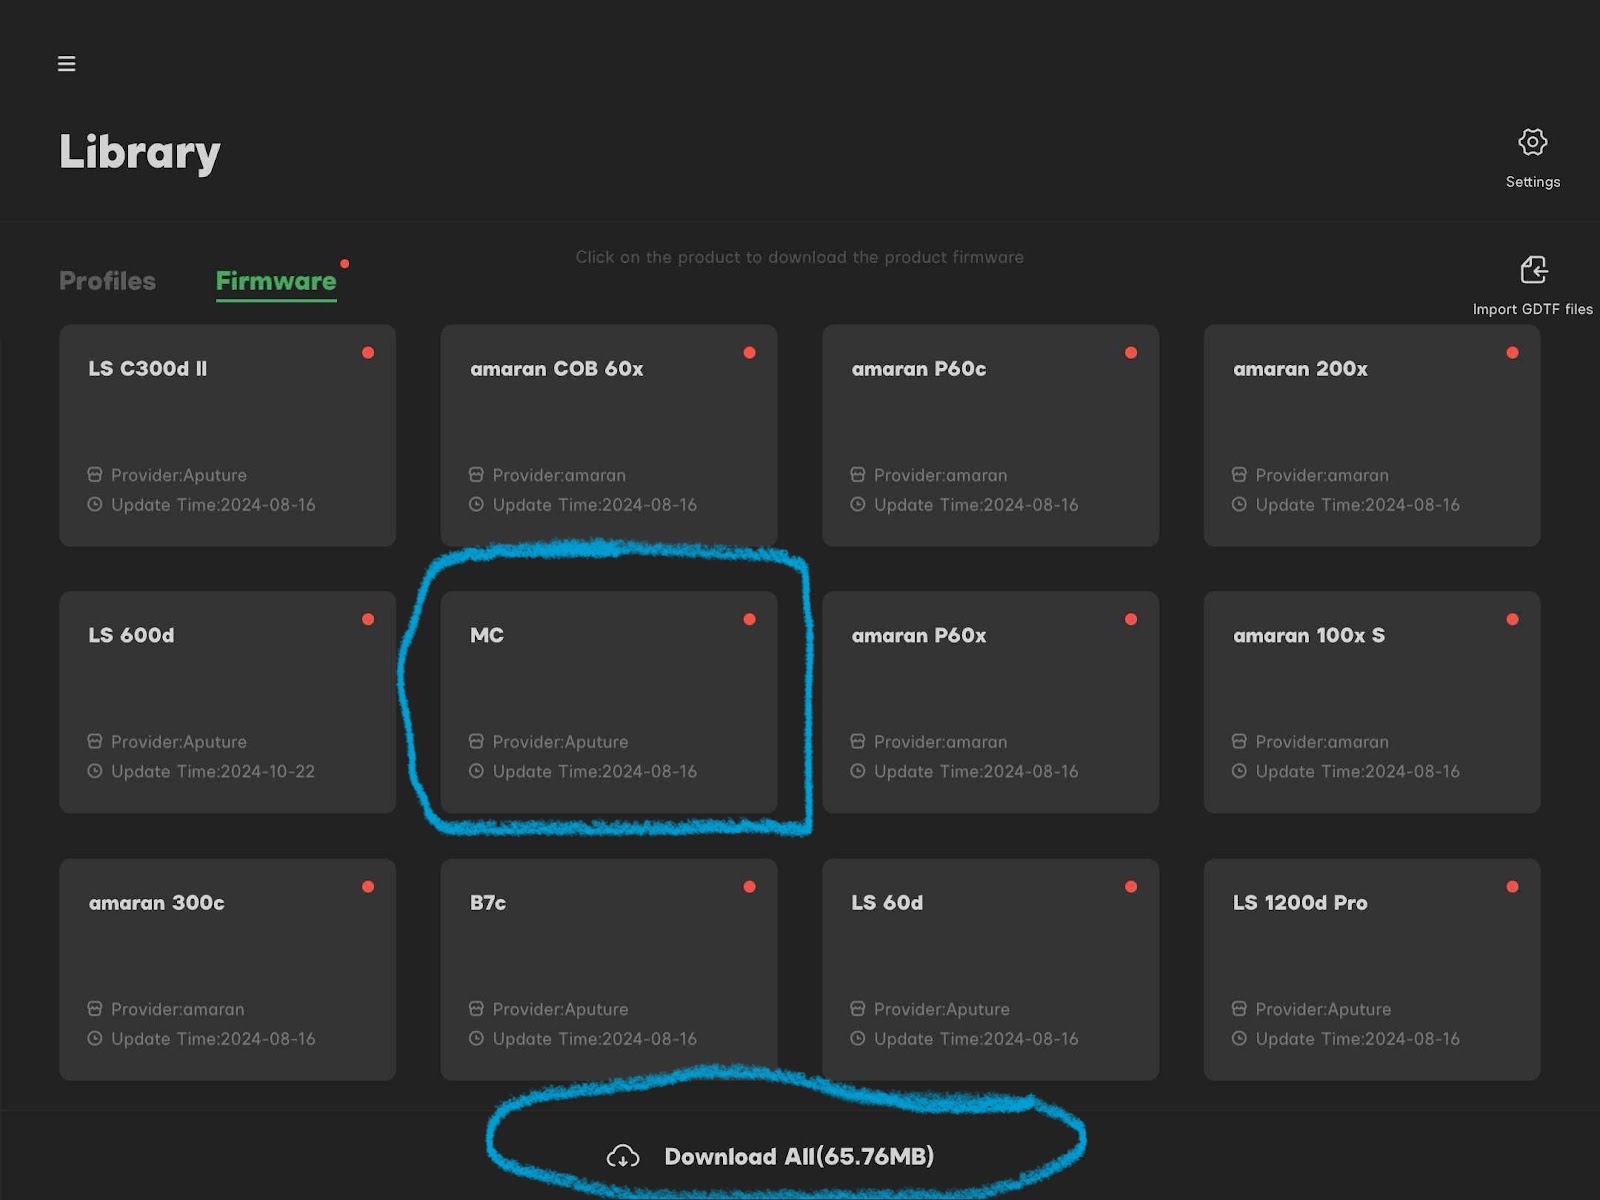
- Select Firmware.
- Select the light you would like to update and click on it to download the firmware update or click the button at the bottom to Download All available firmware updates for all of your connected lights.
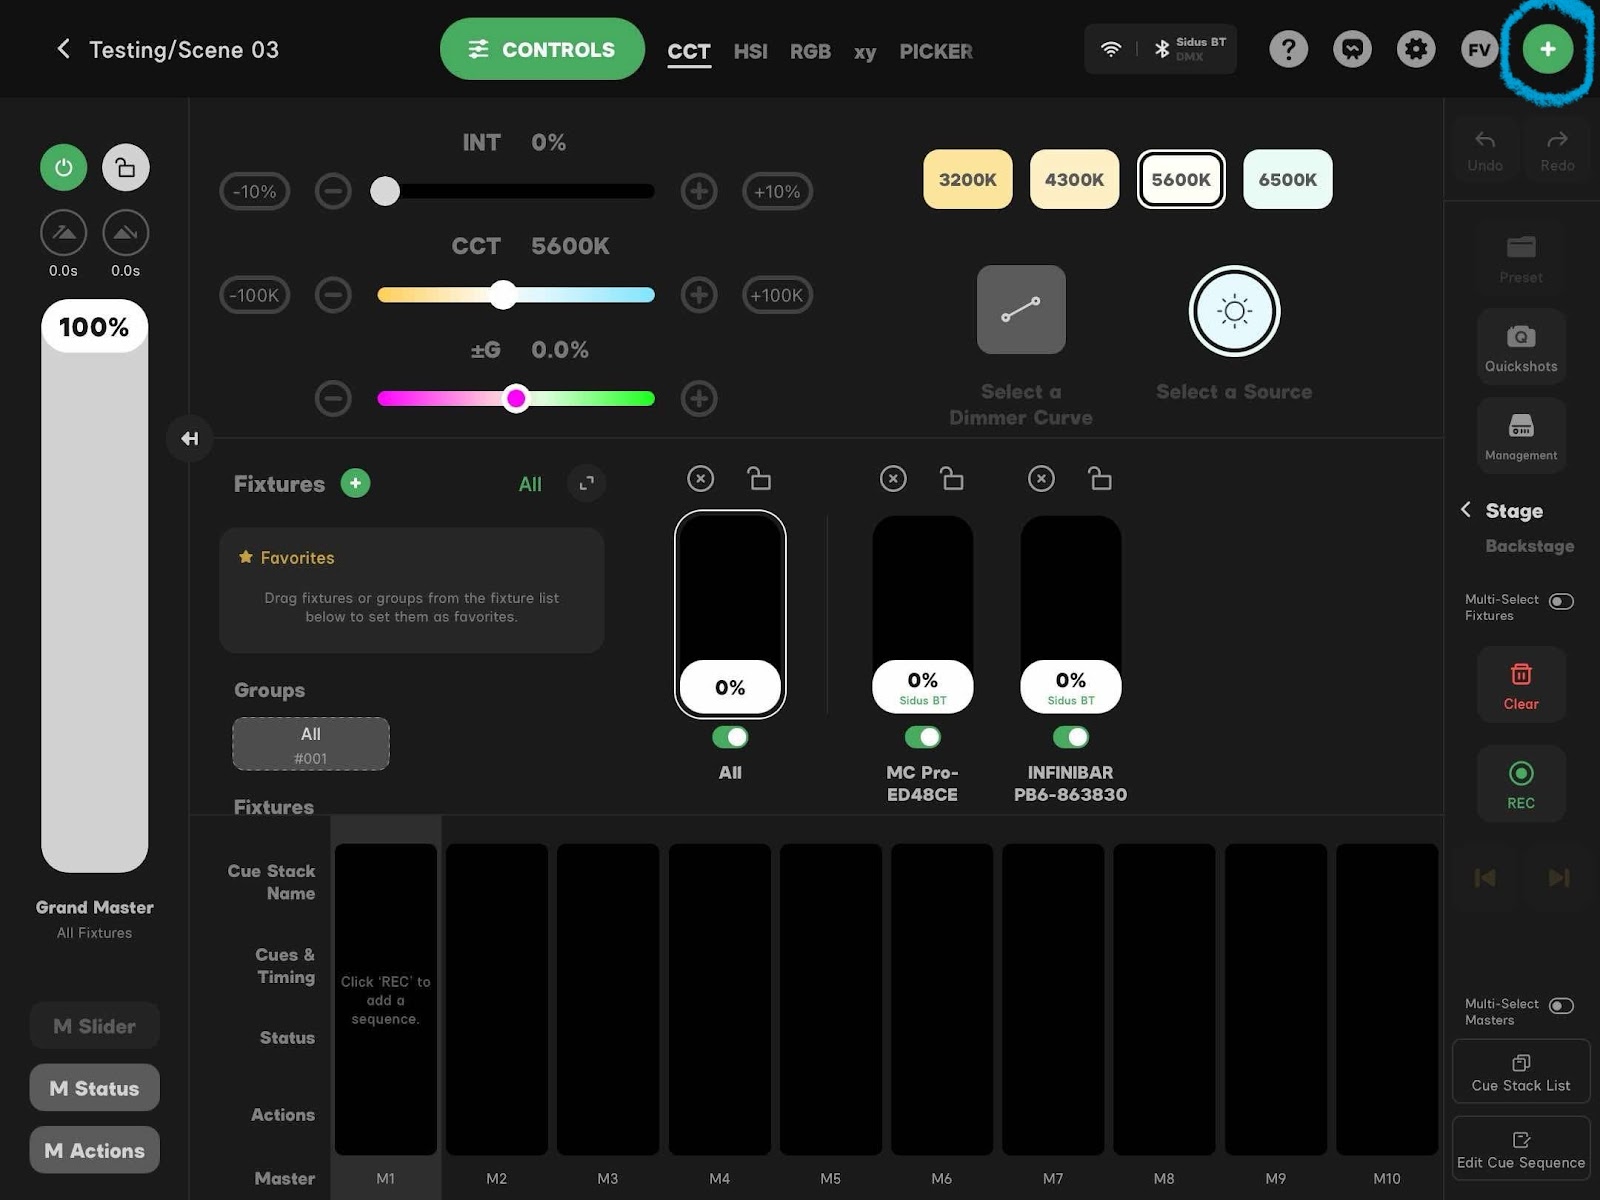
- Reopen your show file.
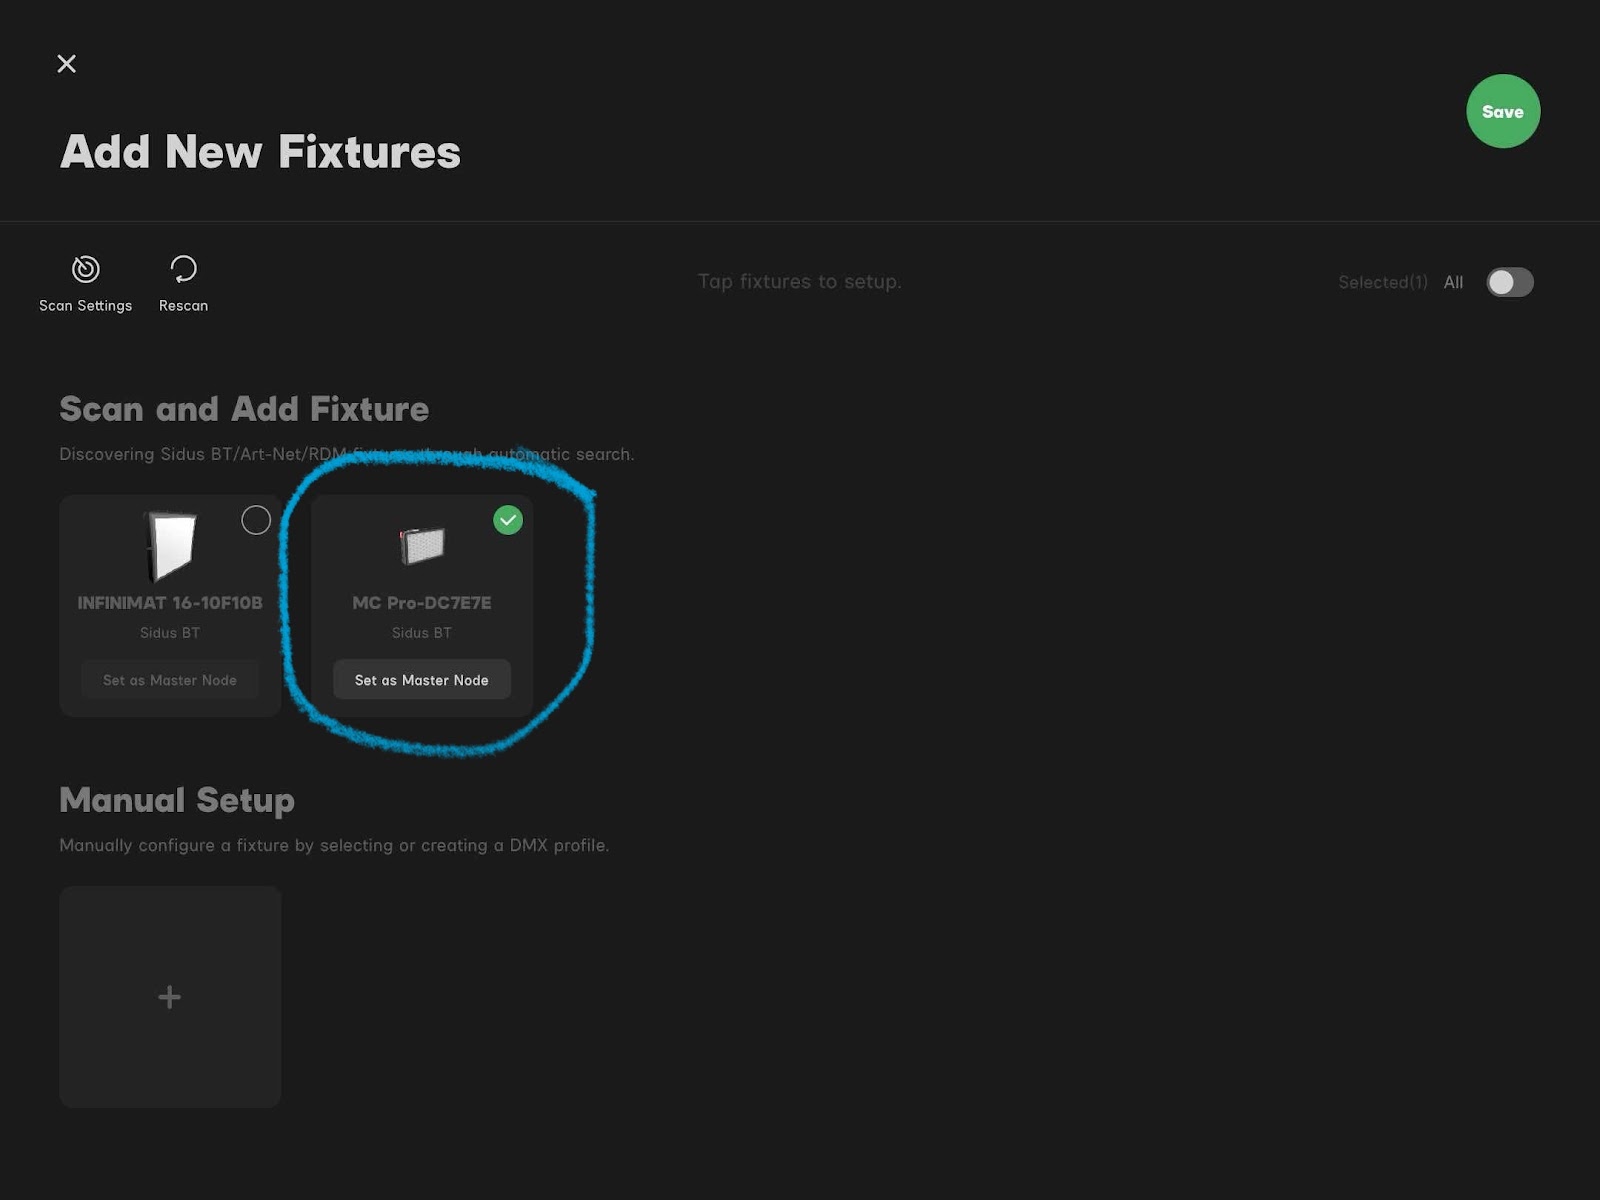
- In the top right corner, click the Green Plus sign to add a new fixture. Sidus Link Pro will automatically find the available light. Click on it and press Next.
- Add the light or lights you wish to update and click Save.
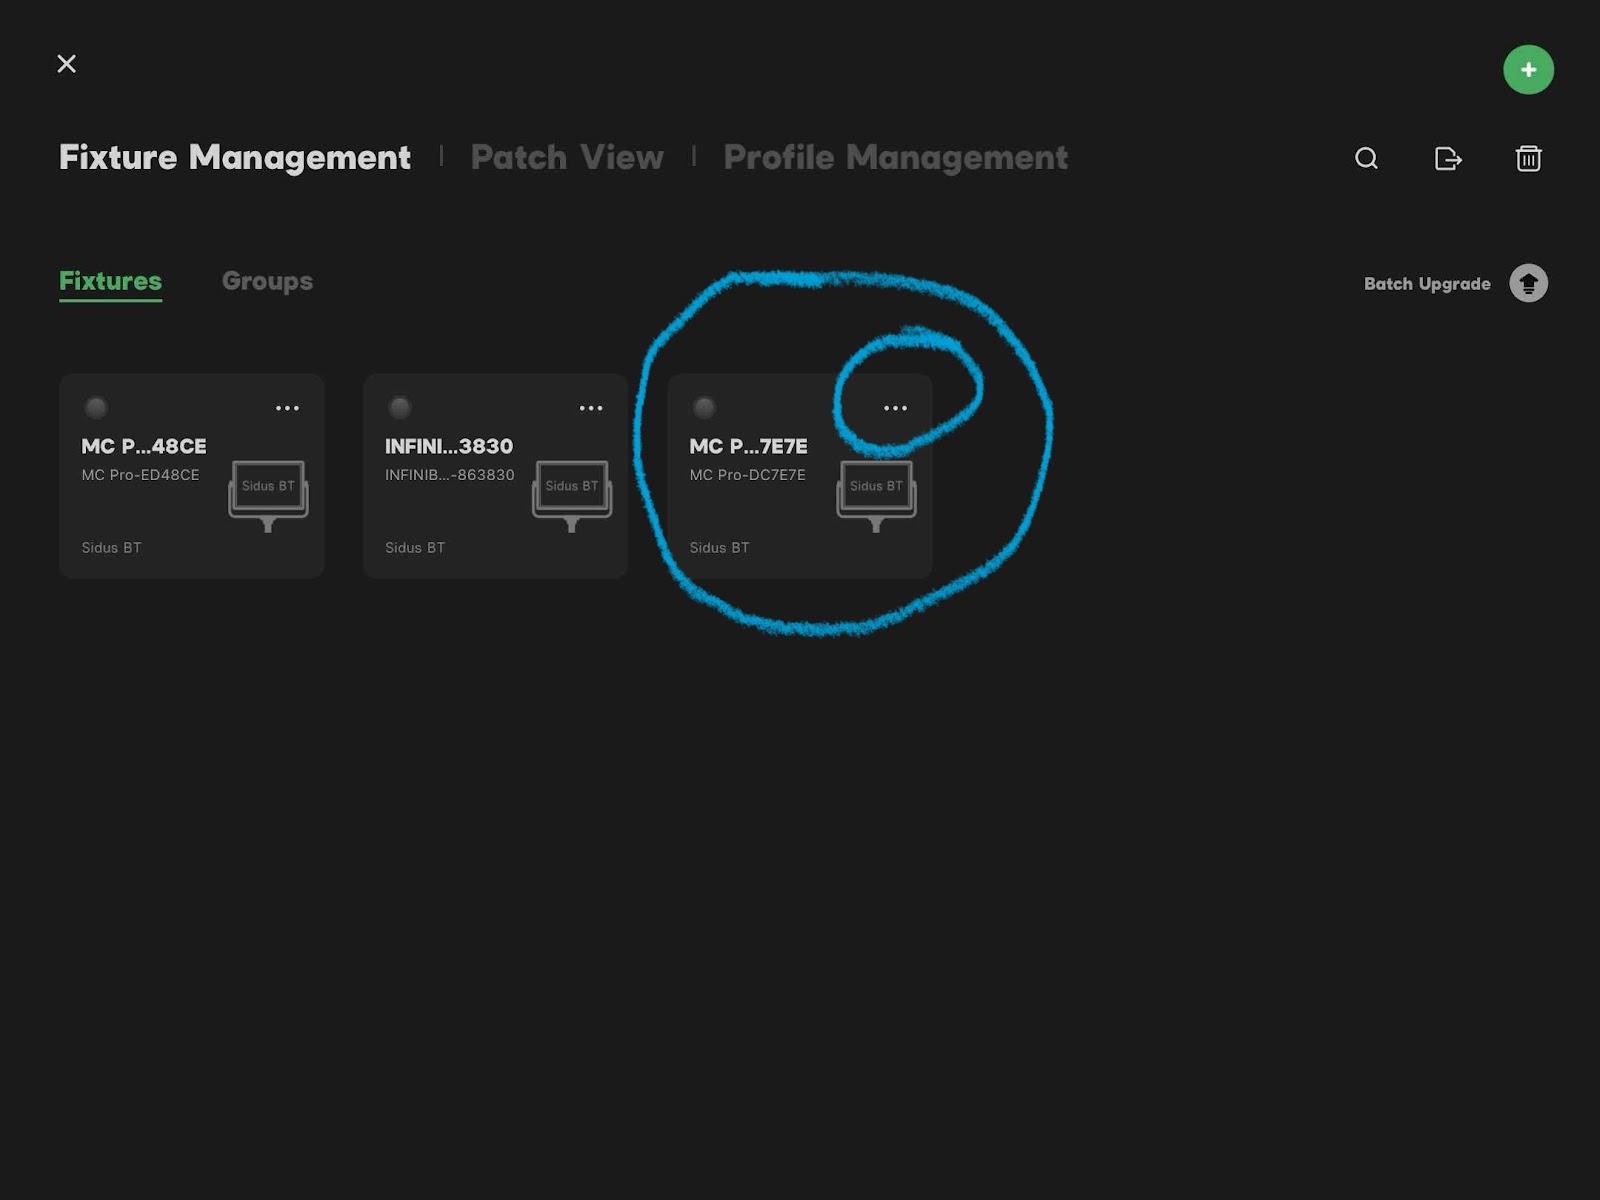
- Click on the Management button on the right toolbar.
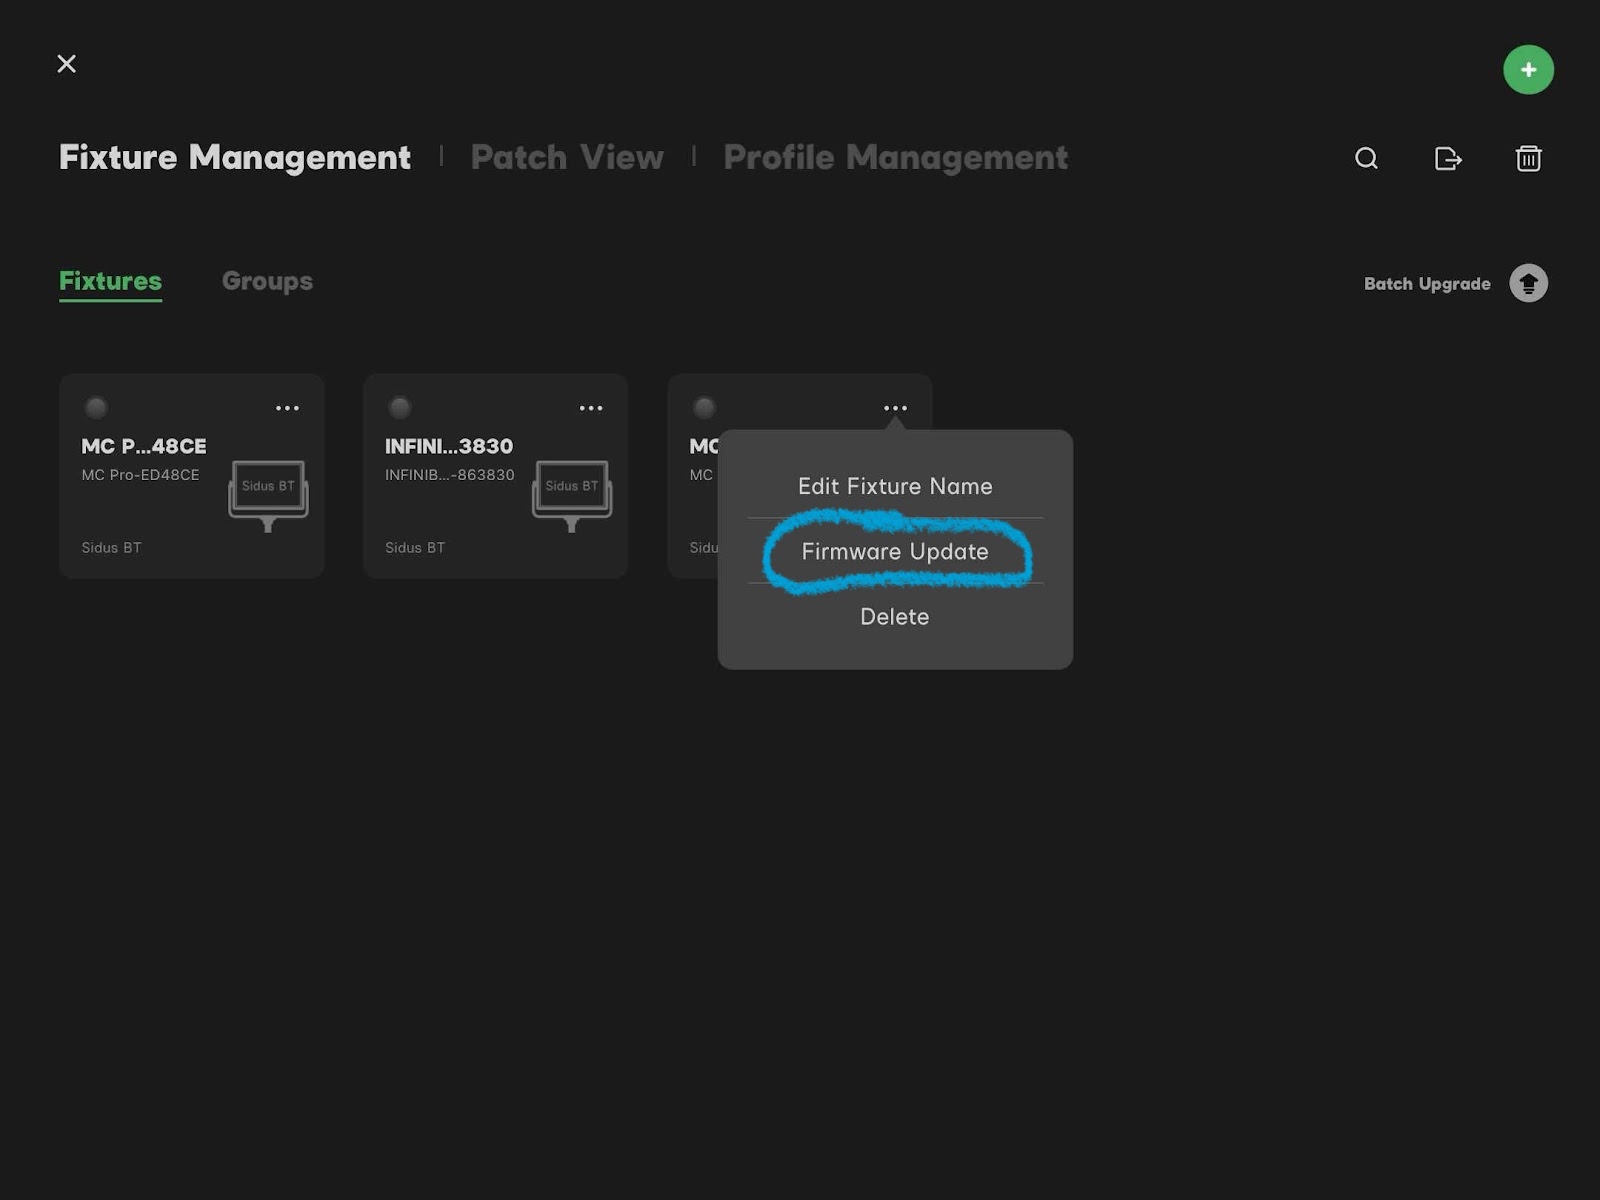
- Press the 3 dots on the fixture identifier tab.
- Select Firmware Update.
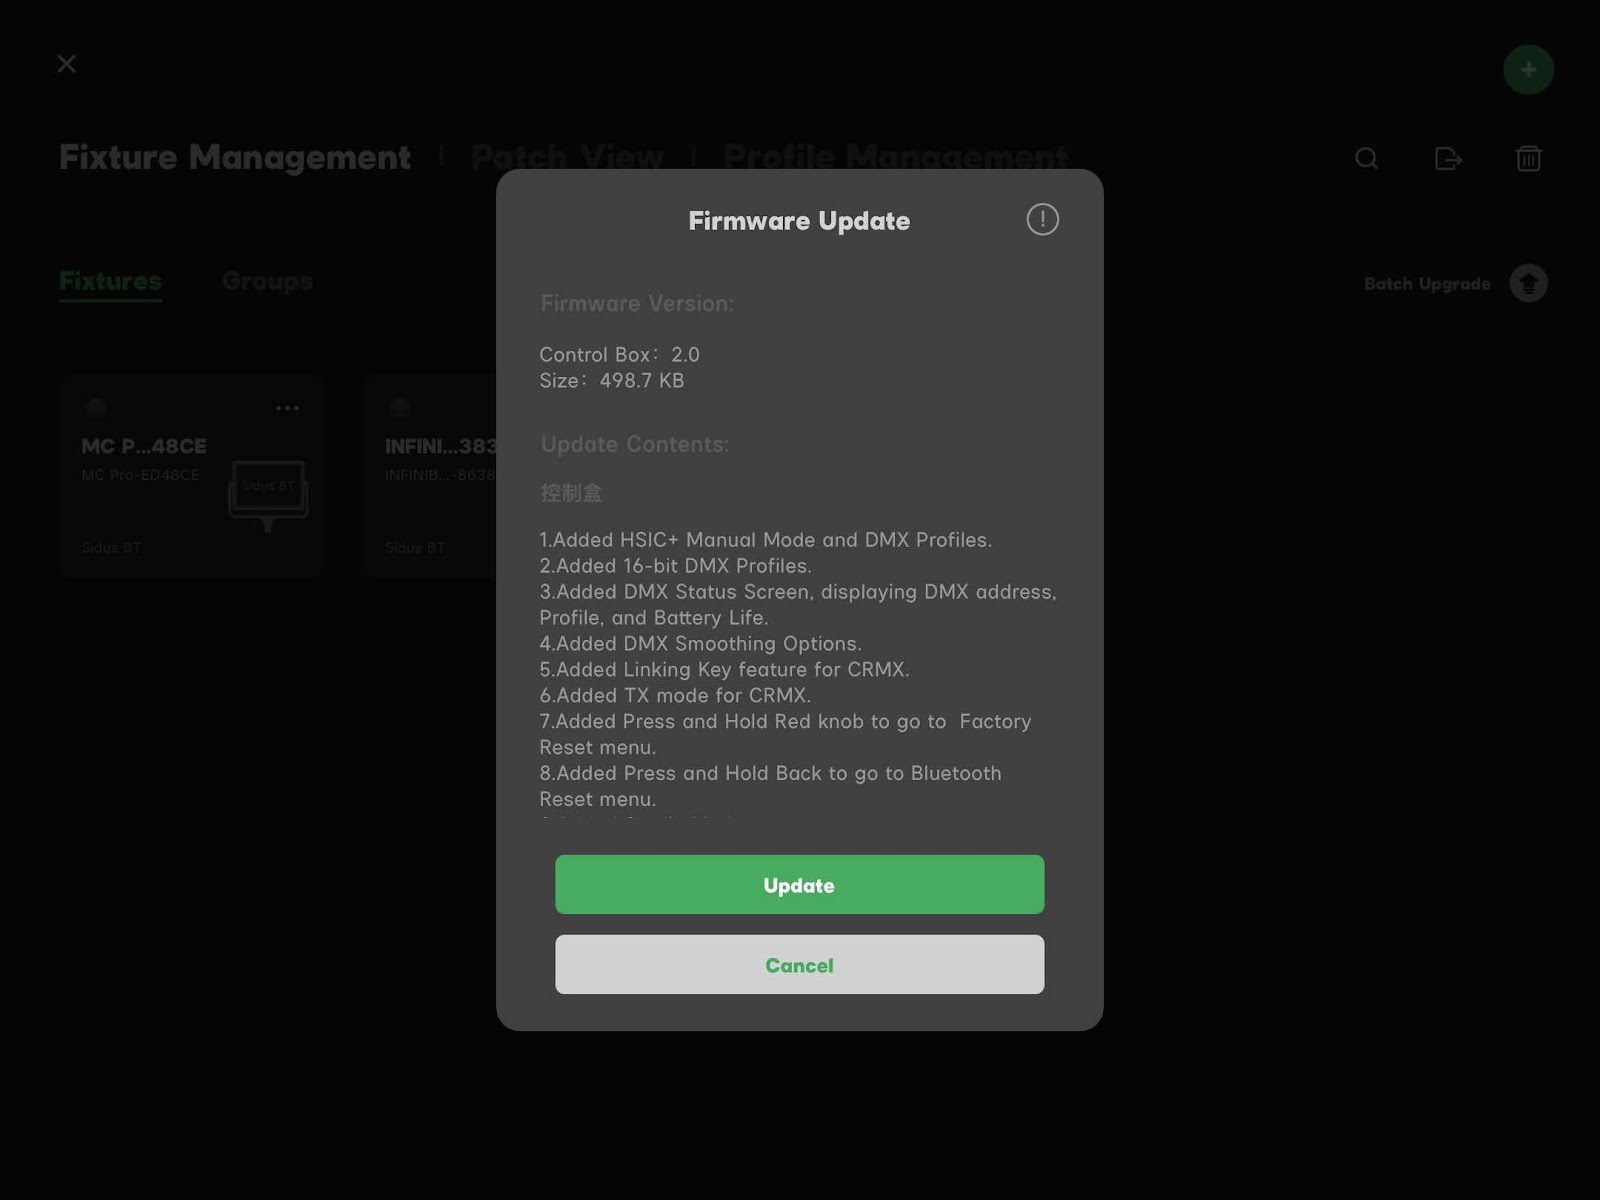
- Select Update.
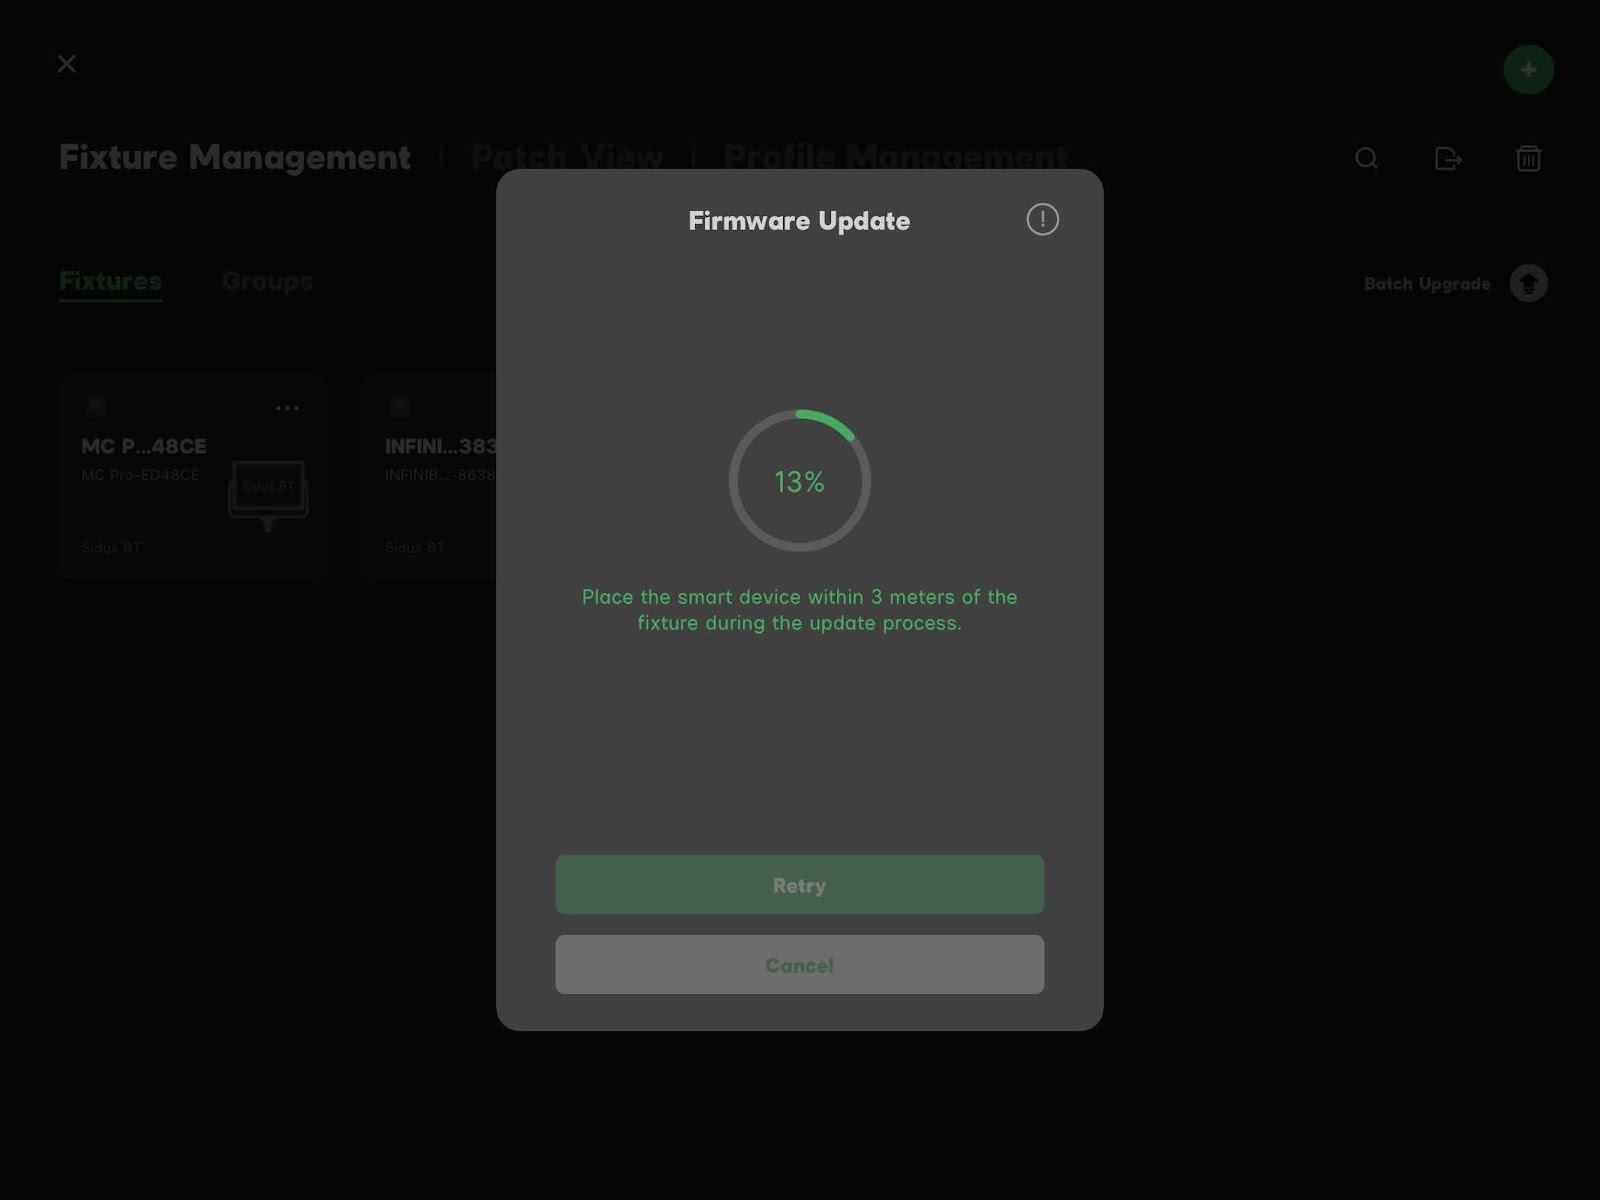
- Sidus Link Pro will begin updating the fixture.
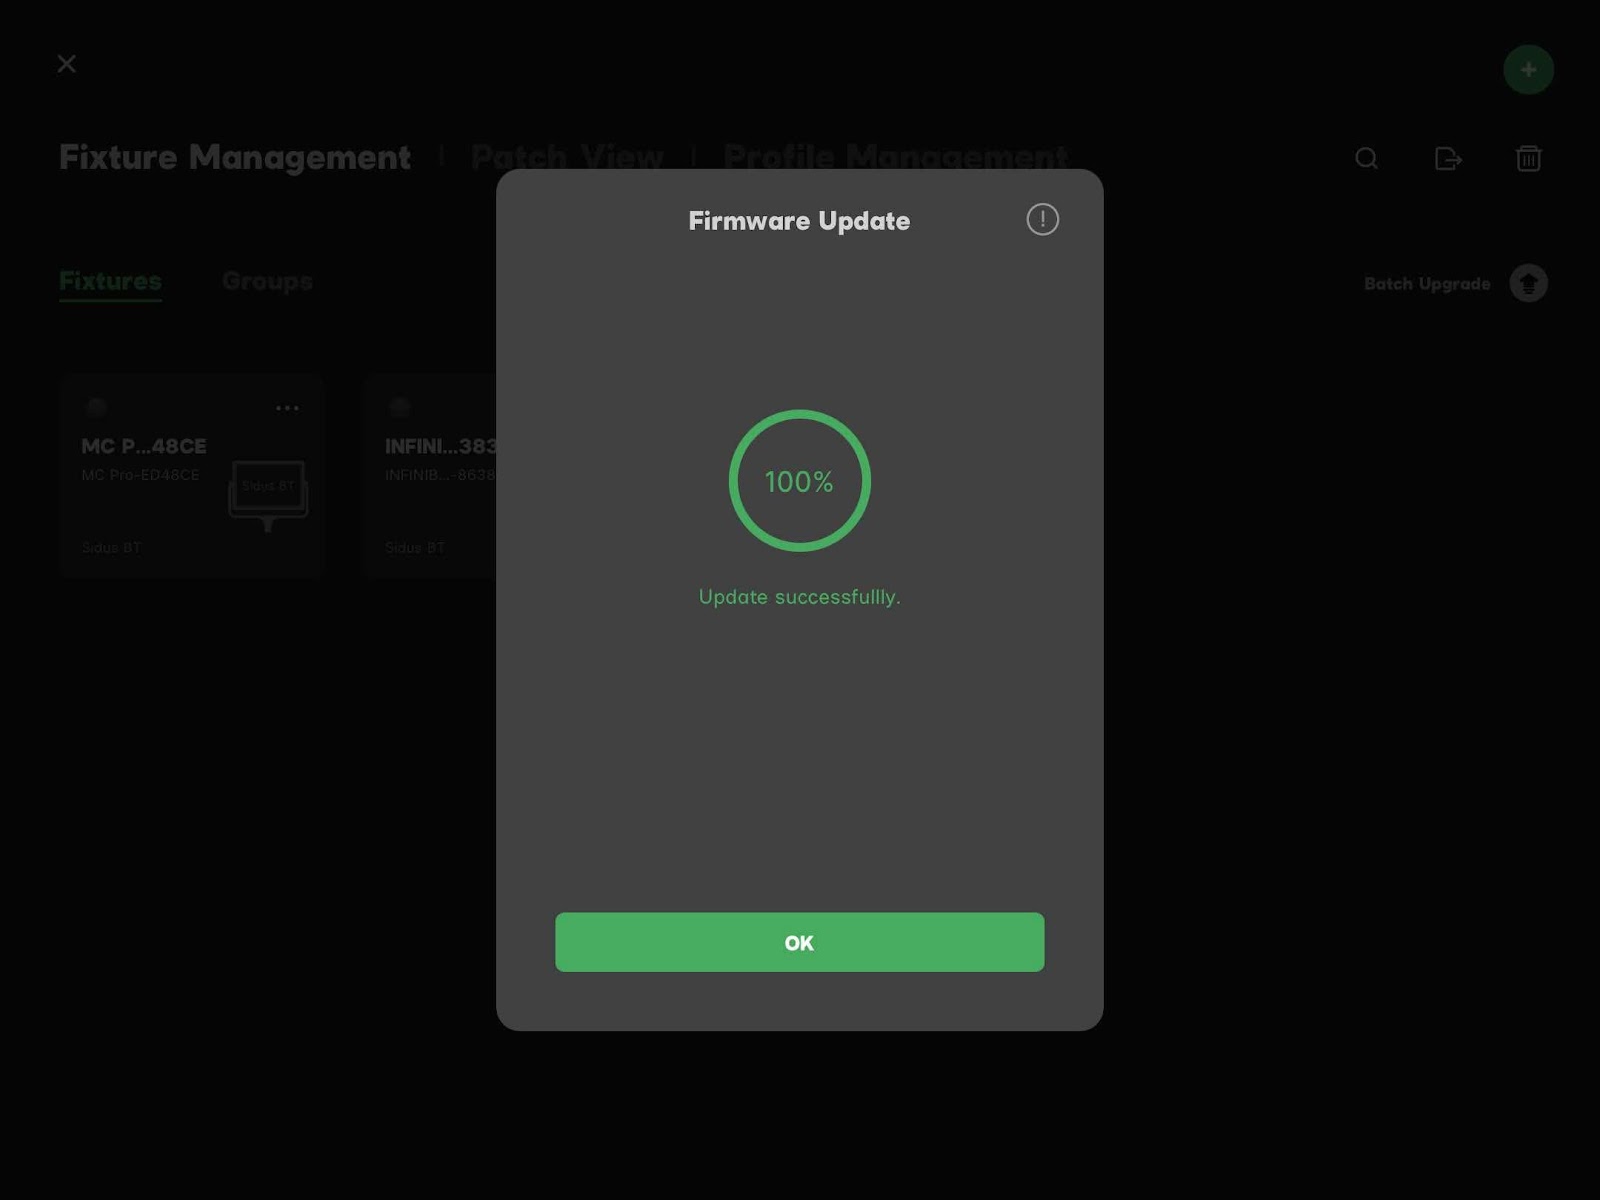
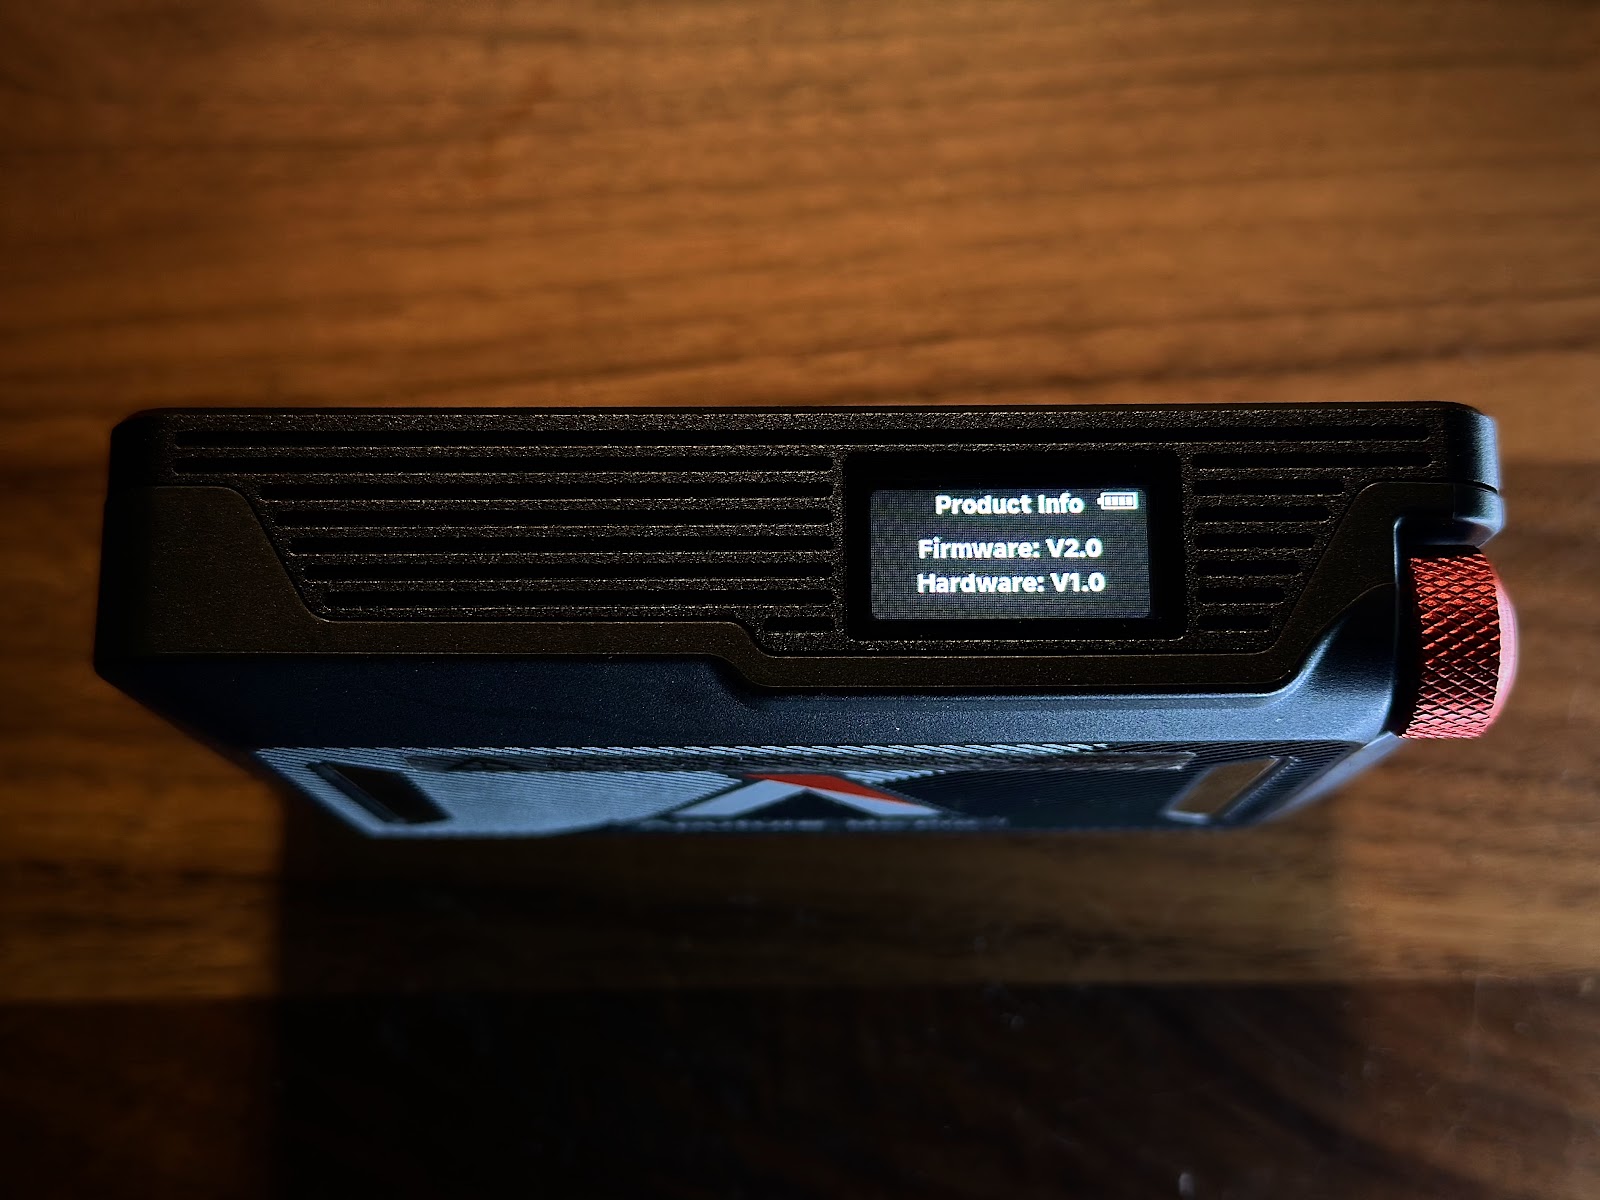
- Once complete, verify the new firmware version on the light menu.
- If you were connected over CRMX, re-enable CRMX by going to CRMX settings. The light should automatically reconnect.