[amaran P60x-P60c] Getting Started
Powering and Setting up P60x and P60c
P60c and P60x Installation
1. The Lamp Fixing
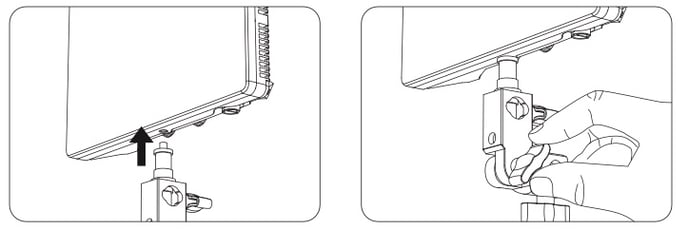
Screw the 1/4’’ to 3/8’’ screw clockwise into the 1/4’’ copper nut at thebottom (or side) of the LED lamp, and tighten it; Connect the 1/4’’ to 3/8’’ screw and the lamp holder through the lamp holder support column, adjust the appropriate angle and tighten it.
2. Softbox installation
The light soft box can be installed according to the needs of use.
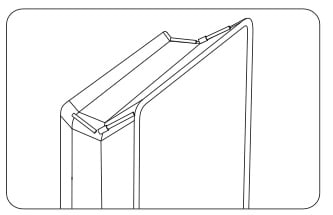
1. Stretch soft box |
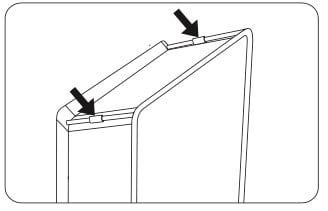
2. Straighten the two support rodson both sides of the soft box to become a support rod |
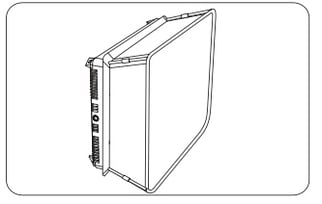
3. Install the soft box to the lamp body |
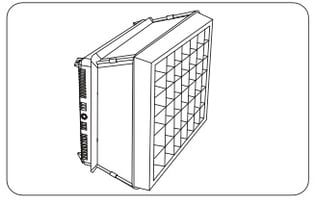
4. The grid can be installed according to the requirements |
P60c: Turning on the light
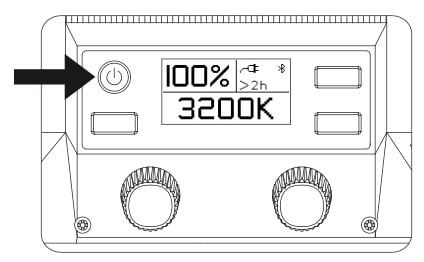
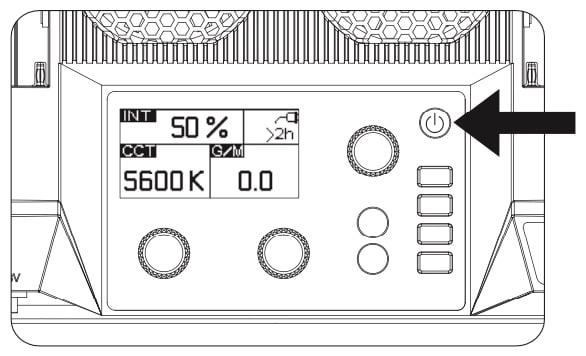
After connecting the lamp body to an appropriate power source, press the power switch to start the P60c.
P60x: Turning on the Light
After connecting the lamp body to an appropriate power source, press the power switch to start the P60x.
