|
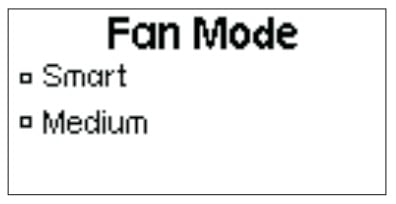
1. Fan Mode Press the MENU button to enter the menu interface, rotate the INT wheel to select and press to enter the Fan mode, rotate the INT wheel to select the smart/medium mode, and then short press the INT wheel to confirm the selection. |
 |
|
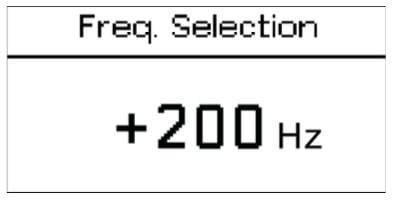
2. Freq. Selection Press the MENU button to enter
|
 |
|
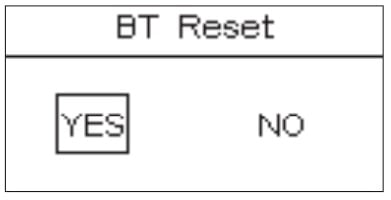
3. BT Reset Press the MENU button to enter the menu interface, rotate the INT wheel to select and press to enter the Bluetooth Reset. Rotate the INT wheel to select "YES" to reset the Bluetooth pairing; If you choose “NO”, then it will return to the previous menu.
|
 |
|
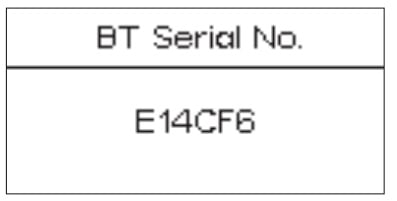
4. BT Serial No. Press the MENU button to enter the menu interface, rotate the INT wheel to select and press to enter the Fixture Serial No.and you can see that device has a unique serial number.
|
 |
|
5. Studio Mode Press the MENU button to enter the menu interface, rotate the INT wheel to select and press to enter the Studio mode interface. Rotate the INT wheel to select "Yes", and the power-on light is on.
|
 |
|
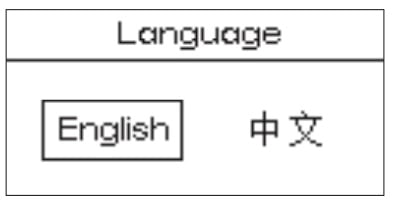
6. Language Press the MENU button to enter the menu interface, rotate the INT wheel to select and press to enter the Language menu. You can rotate the INT wheel to select English or Chinese, and then press the Select wheel to confirm the selection.
|
 |
|
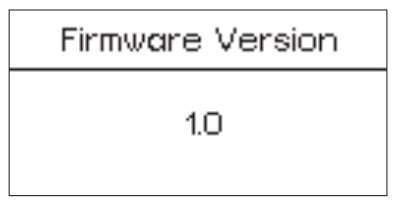
7. Firmware Version Press the MENU button to enter the menu interface, rotate the INT wheel to select and press to enter the Firmware Version, You can check the firmware version number of the fixture.
|
 |
|
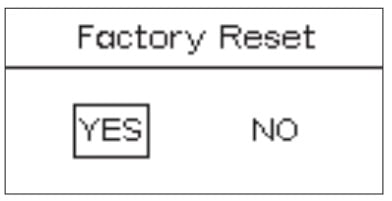
8. Factory Reset Press the MENU button to enter the menu interface, rotate the INT wheel to select and press to enter Press the MENU button to enter the Factory Reset interface You can rotate the INT wheel to select "YES" . back to the factory settings.
|
 |
|
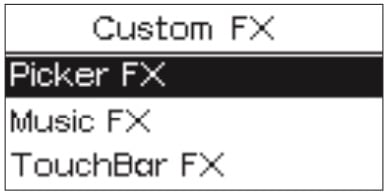
9. Custom FX Press the MENU button to enter the menu interface, rotate the INT wheel to select and press to enter the Custom FX. You can choose to enter Picker FX, Music FX, or Touchbar FX interface. Each type can save 10 custom FXs. In the name of each FX, "NO FX" means unsaved FX, and "Untitled" means saved FX.
|
 |
10. Exit
Press the MENU button to enter the menu mode, rotate and short press the INT wheel to select exit, you can return to the initial interface of CCT mode.
11. Preset function
There are 4 preset buttons located on the bottom row of the control box. Once you have set your light to the desired output, long press and hold one of the four buttons (1, 2, 3, or 4) to start the Save Preset procedure. Use the INT control wheel to select "YES" or "NO".
You can then use those preset buttons in any Lighting Mode and it will activate the mode and settings you previously saved to that preset. You can save a nearly infinite number of presets using the Sidus Link mobile app.